

Step-by-step home acoustic improvement
TL;DR:
- Improving acoustics reduces reverberation and impact sound by using absorption materials and structural solutions. Measurements help design effective measures, such as acoustic treatment of ceiling surfaces and walls, and floating floors. The right materials and implementation methods improve the sound conditions and internal acoustics of a space.
Improving acoustics refers to measures taken to reduce disturbing reverberation and impact sound in a space by using both sound-absorbing materials and structural solutions. Step-by-step acoustic improvement is a process that begins with measurements and proceeds through material selection to installation. This involves two separate problems: room acoustics, where sound reverberates off hard surfaces, and impact sound insulation, where the vibration of footsteps transfers through structures to other spaces. In two-story spaces, the reverberation time is about 1 second compared to half a second in single-story spaces, which shows how much the shape of the space affects the sound experience.
What do basic acoustic concepts mean and what tools are needed?
Room acoustics and sound insulation are different things, and confusing them leads to incorrect solutions. Room acoustics refers to the behavior of sound within a space: reverberation, reflections, and absorption. Sound insulation, on the other hand, means preventing sound from traveling from one space to another. A correct diagnosis before taking action saves both money and effort.
The most important metrics guiding acoustic design are:
- Reverberation Time (RT60): The time it takes for sound to decay by 60 decibels. According to standard SFS EN ISO 3382-2, the target reverberation time for residential spaces is less than 0.5 seconds.
- Impact Sound Level (L’n,w): Measures how much impact sound is transmitted through a structure. A lower number indicates better insulation.
- NRC Value (Noise Reduction Coefficient): Indicates what proportion of sound a material absorbs. A value of 1.0 means perfect absorption, a value of 0 means perfect reflection.
Professional measurements help distinguish between airborne sound and impact sound traveling through structures. This difference is crucial, as an airborne sound problem is solved by absorption, and an impact sound problem by structural changes. Without measurements, it is difficult to know which problem is being addressed.
Professional tip: Before buying any acoustic panels, download a free measurement app to your smartphone, such as RoomEQ Wizard or Decibel X, and measure the reverberation time of the space. The result will tell you how much absorption is needed and where to focus it.
How to improve room acoustics step-by-step at home?
Improving room acoustics is based on adding absorbent surfaces to the space. Hard surfaces, such as concrete, glass, and gypsum board walls, reflect sound effectively. Soft materials, such as textiles, foam, and mineral wool, absorb sound and shorten reverberation time.
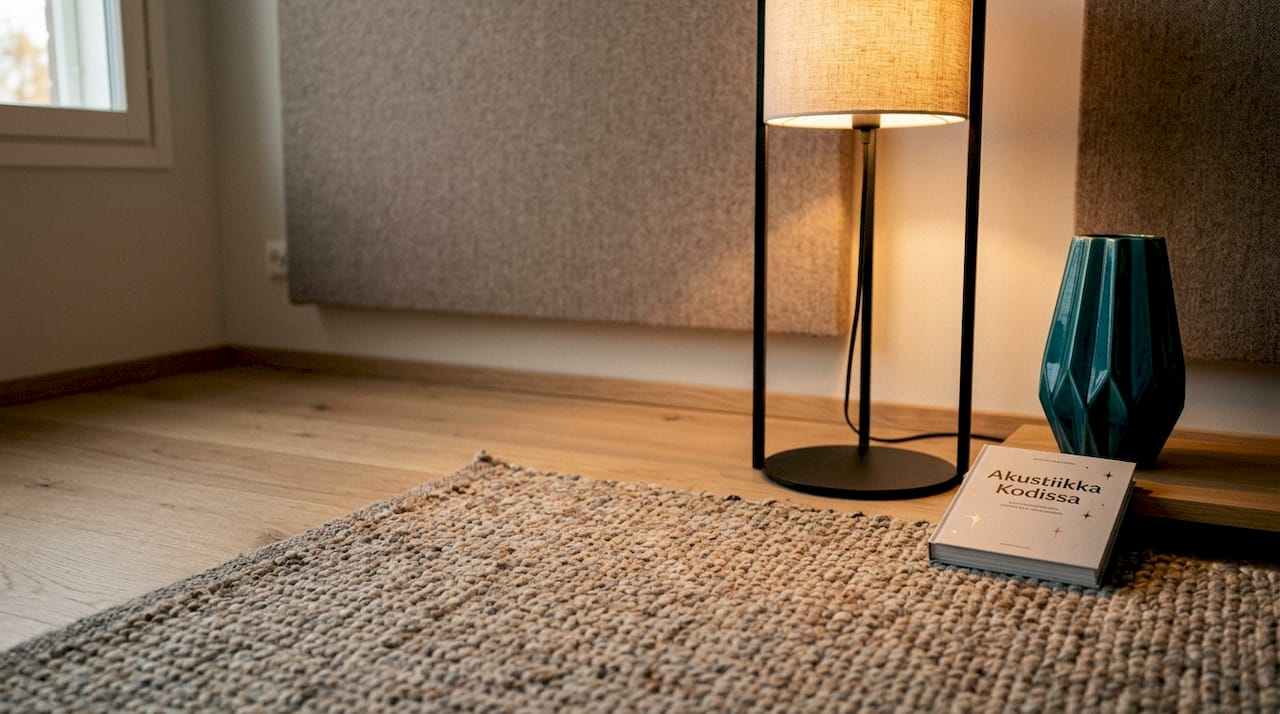
Ceiling acoustics are often the most important single measure, as the ceiling is the largest continuous reflective surface. In a large two-story living room, acoustic treatment of the ceiling can halve the reverberation time. This practically means installing acoustic panels on the ceiling or constructing a separate acoustic ceiling.
Practical steps for improving room acoustics:
- Rugs and textiles: A thick rug on the floor absorbs a significant amount of reflections. Adding wool curtains to windows reduces echo quickly and affordably.
- Acoustic panels on walls: PET polyester-based acoustic panels with an NRC value of 0.85 are an effective and visually clean solution. They are primarily installed at the first reflection point, i.e., on the wall at ear height.
- Acoustic panels on the ceiling: Suspended acoustic panels, or "baffles," are an easy way to add absorption to the ceiling without extensive renovation.
- Bookshelves and furniture: Irregular surfaces scatter sound, which reduces echo. A cluttered bookshelf works surprisingly well as an acoustic diffuser.
Professional tip: Place acoustic panels first on the ceiling and at the primary reflection points on the walls. Do not cover all walls evenly, as a completely dead room sounds unnatural. Aim for a balance between absorption and reflection.
| Solution | Estimated Price | Efficiency (NRC) | Ease of Installation |
|---|---|---|---|
| Thick rug | €50–€300 | 0.3–0.5 | Easy |
| Textile curtain | €30–€150 | 0.2–0.4 | Easy |
| PET acoustic panel | €20–€80 / m² | 0.7–0.9 | Moderate |
| Acoustic ceiling | €80–€200 / m² | 0.8–1.0 | Demanding |
| Suspended baffle | €40–€120 / piece | 0.7–0.9 | Moderate |
Interior-based acoustic design should be planned early, so that large ceiling and wall surfaces can be reserved for acoustic panels without visual compromises. Panels added afterward may look out of place if not considered in the interior design plan from the outset.
What does impact sound insulation mean and how is it implemented?
Impact sound insulation is a structural problem that cannot be solved with soft materials alone. Impact sound occurs when a foot strikes the floor, and the vibration transfers through the floor structure to the walls and ceiling in the space below. An effective solution requires separating the floor structure from other structures.
A floating floor structure is the most structurally effective solution for impact sound insulation. In this design, the floor rests on a flexible insulation material and is not in direct contact with walls or other structures. The low stiffness of the insulation material is key: an overly stiff insulator will transmit vibrations directly to the structure.
Mass also plays a significant role. Doubling the mass improves impact sound insulation by approximately 9 decibels. This practically means that a lightweight laminate floor on a flexible underlay will not achieve the same result as a heavy concrete floor in a floating structure.
| Structure | Typical L’n,w improvement | Suitability |
|---|---|---|
| Soft carpet + underlay | 5–10 dB | Minor improvement, rental apartment |
| Floating laminate + acoustic insulation | 10–18 dB | Basic renovation |
| Floating concrete slab + mineral wool | 20–30 dB | Demanding construction project |
| Flexible suspension for false ceiling | 15–25 dB | Space below |
Finnish building regulations set clear limits. The impact sound level L’n,w must not exceed 53 dB between residential rooms and 63 dB from the exit hallway to the apartment. These values apply to new construction, but they also serve as a good target for renovation.
Most common mistakes in impact sound insulation:
- Flanking transmission in the structure: Even minor contact between the floor structure and the wall negates the benefits of a floating floor. Skirting boards and thresholds must be installed so that they do not connect the floor to the wall.
- Too rigid insulation: Hard foam or thin felt does not function as acoustic insulation, even if it feels soft.
- Building services connections: Pipes and electrical wires that rigidly penetrate a floating floor create sound bridges. Flexible connections are essential.
Professional tip: When installing a floating floor, leave a 10–15 mm gap between the wall and the floor around the entire perimeter. Fill the gap with acoustic sealant, not hardboard or mortar. This detail often determines whether the floating floor works or not.
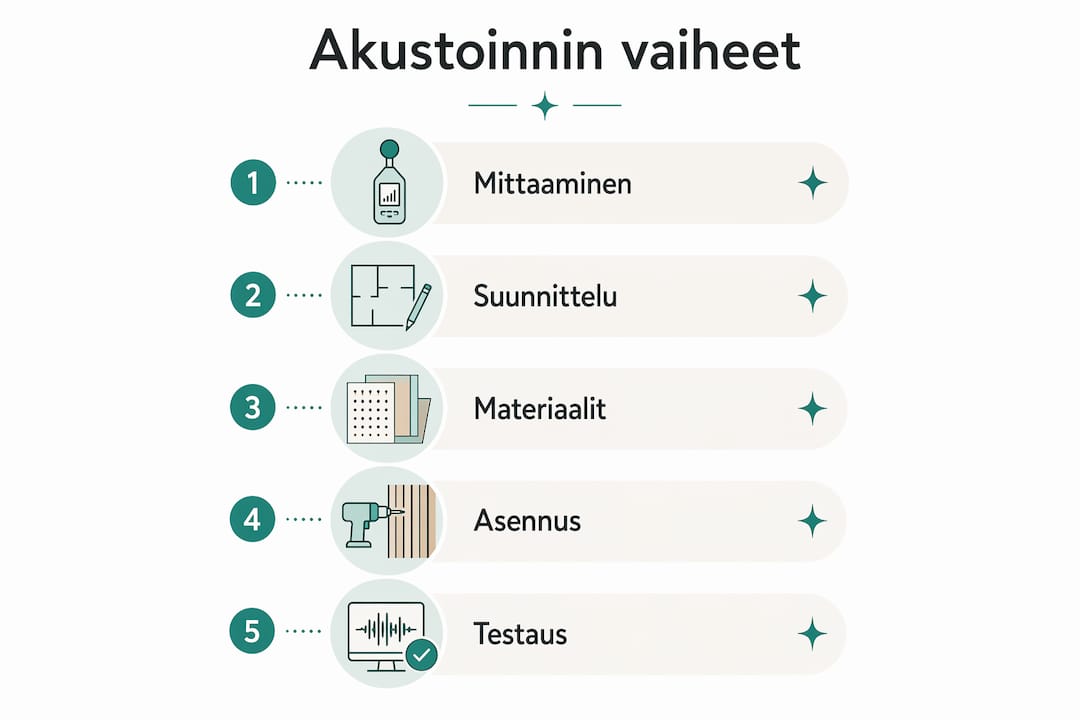
How to carry out an acoustic renovation in practice, step by step?
Successful acoustic improvement proceeds in a logical order. Rushing to buy materials without planning often leads to a situation where money is spent, but the result remains modest.
Step 1: Measure and diagnose
- Measure the reverberation time of the space with an app or order a professional measurement.
- Identify the problem: is it reverberation in the space or impact sound to the space below?
- Record the results for comparison.
Step 2: Design solutions
- Determine how much absorption is needed to shorten the reverberation time to the target.
- Select materials based on NRC values and budget.
- Plan placement: ceiling first, then primary reflection points on the walls.
Step 3: Acquire materials
- Calculate the required surface area: typically 15–25% of the total area of the space is sufficient for a normal residential space.
- Order materials well in advance, as special panels may have delivery times.
- Verify that the NRC values of the materials match the plan.
Step 4: Install and check
- Start with the ceiling and proceed to the walls.
- Ensure that no flanking transmissions occur in the floating floor during installation.
- Measure the reverberation time again after installation and compare it to the initial situation.
Documentation is important, especially when the project is carried out in stages. Record the reverberation time measured after each phase and the materials used. This helps assess whether additional measures are needed and serves as a reference for possible future projects.
Common pitfalls to avoid:
- Placing absorption material on only one wall, leaving other surfaces to reflect strongly.
- Choosing too thin an acoustic panel for low-frequency problems. Panels less than 50 mm thick do not effectively absorb frequencies below 500 Hz.
- Confusing impact sound insulation with room acoustics: a soft rug improves room acoustics but does not replace a floating floor structure for impact sound insulation.
Material choices for experiential spaces should be made carefully, as acoustic panels are a visible part of the interior design. Visually well-designed acoustics improve both the soundscape and the overall appearance of the space.
Key takeaways
Improving acoustics is best achieved when room acoustics and impact sound insulation are treated as separate problems, and solutions are chosen based on measurement results.
| Point | Details |
|---|---|
| Measure first | Measuring reverberation time guides the selection of correct materials and placement. |
| Ceiling is most important | Acoustic treatment of the ceiling surface is the most effective single measure in room acoustics. |
| Floating floor against impact sound | Separating the floor from other structures is the only structurally effective solution for impact sound. |
| Avoid flanking transmission | Even minor contact between the floor structure and the wall negates the benefits of a floating floor. |
| Document results | Measure before and after to know what the measures actually achieved. |
Acoustics as a whole: reflections from practical experience
I have seen several projects where an acoustic problem has been attempted to be solved by purchasing a lot of material without a clear plan. The result is often disappointing: money has been spent, but reverberation has not significantly decreased. The reason is almost always the same. Absorption has been added in the wrong places or a material has been chosen whose NRC value does not match the frequency range of the problem.
To interior designers, I want to say directly: acoustics should be included in the design process already at the sketch stage. Acoustic panels added later often look out of place because they have not been integrated into the interior design. When acoustic panels are designed as part of the wall or ceiling surface from the outset, the result is both functional and visually cohesive.
For homeowners, the best advice is to start small and measure. A thick rug and textile curtain can solve a mild echo problem without a major investment. If the problem is more severe, a professional measurement pays for itself quickly because it directs money towards the right measures. Materials used by AV professionals in space planning provide a good insight into what effective acoustic treatment practically means.
One thing I cannot emphasize enough: impact sound insulation is a construction engineering issue, not an interior design issue. A soft floor may reduce impact sound slightly, but true improvement requires a floating structure. If you live in an apartment building and a neighbor complains about impact sounds, the only sustainable solution is a structural change. This is good to know before investing in mere surface materials.
— Mikko
Dekoja helps in choosing acoustic materials
Improving acoustics requires the right materials in the right places. Dekoja offers expert guidance in material selection for interior designers and homeowners who want to improve the soundscape of their spaces thoughtfully.

From Dekoja.net's selection, you will find acoustic panels and boards for various styles and budgets. Deliveries take place within 1–3 business days from our domestic warehouse, and our B2B service supports larger projects for design agencies and construction professionals. Contact us if you would like an expert assessment of which materials are suitable for your project.
FAQ
What is reverberation time and why is it important?
Reverberation time (RT60) is the time it takes for sound to decay by 60 decibels within a space. In residential spaces, a value of less than 0.5 seconds is targeted, and measuring it before acoustic treatment guides the selection of correct materials.
How does impact sound insulation differ from room acoustics?
Room acoustics refers to the behavior of sound within a space and is improved with sound-absorbing materials. Impact sound insulation means preventing the vibration of footsteps from transferring through structures, and it requires structural solutions such as a floating floor.
What is the L’n,w requirement for impact sound level in Finland?
According to the Ministry of the Environment's decree 796/2017, the impact sound level must not exceed 53 dB between residential rooms. A lower number indicates better insulation.
Is a rug sufficient for impact sound insulation?
A rug improves room acoustics and slightly reduces impact sound, but it does not replace a floating floor structure. True impact sound insulation requires separating the floor from other structures with flexible insulation.
Where to start improving acoustics at home?
Start by measuring the reverberation time of the space with a free app. Identify whether the problem is reverberation in the space or impact sound to the space below, and choose measures accordingly. Ceiling acoustic treatment is often the most effective first step.